Force and position sensing with the XYZ digitizer pad
In the previous section we obtained some useful output, and confirmed that our XYZ Pad basically works as expected.
But staring at a stream of text, it's hard to develop any detailed sense for how the XYZ Pad responds, or identify performance aspects which can be improved upon. For more insight, here's
a graphic demo app that we put together in Processing, which you will need to download if you'd like to run the demo.
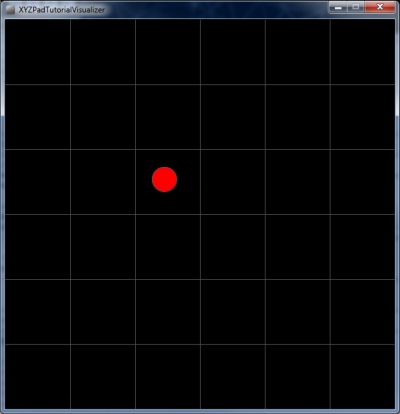
Here's a screenshot >>
To get the example Arduino sketch talking with the graphic application, you'll need to make one edit in xyzdefines.h.
Find these lines:
//#define TERMINAL_OUTPUT 1
#define PROCESSING_OUTPUT 1
And swap the commenting, like so:
#define TERMINAL_OUTPUT 1
//#define PROCESSING_OUTPUT 1
Good to go! Processing code and a downloadable project .zip are posted below. For a list of hotkeys and some tips to optimize performance, check the included text file.
⬇ Download XYZPadTutorialVisualizer.zip (Processing Project)
We'll leave some experimentation and observation open to the reader / builder. This has been a relatively basic example, so there's a lot of room for some clever improvements in
your own force-sensing designs.
For example, here's one issue you may have noted: If you apply a force in the X/Y+ corner and move to the X/Y- corner (maintaining the same force), you'll observe a gradual change in
Z-Axis sensitivity.
If you consider where we're driving and measuring the XYZ Pad, you can probably see why this occurs (and maybe come up with some ideas to compensate). Resistive touchscreens exhibit similar
characteristics - the geometric algorithms used in touchscreen / touchpad controller ICs make for some worthwhile reading.
Well, that's all for this tutorial, we look forward to seeing your force-sensing projects in action! Comments or suggestions? Feel free to drop us a line.